
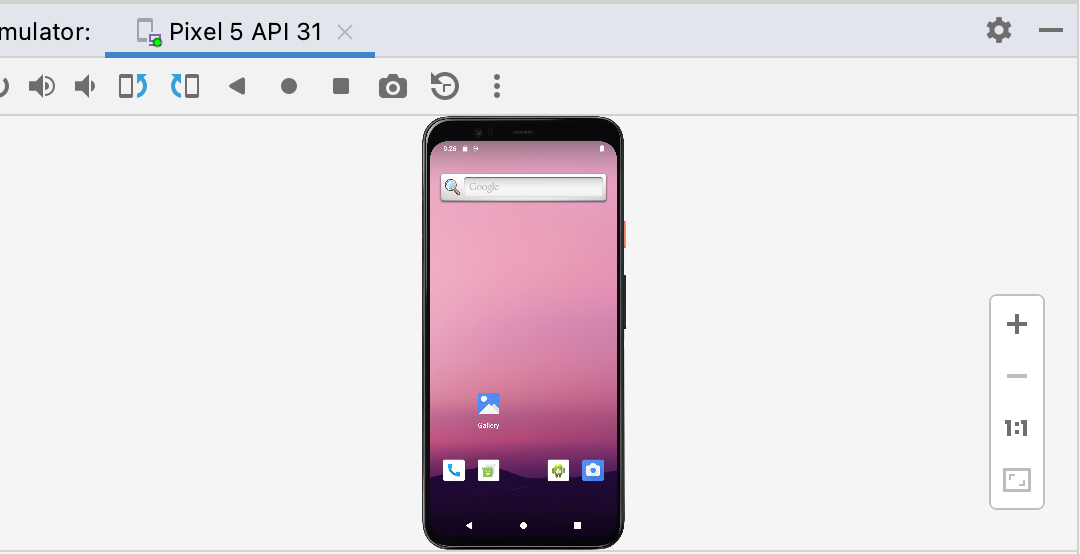
For Android app development, Google’s Android Studio Emulator is the first tool to try. It is integrated with Android Studio, supports configurable virtual devices and lets you run the app you are building while using Android’s debugging and profiling tools. Consumer game emulators are designed for a different job and generally do not provide the same test controls.
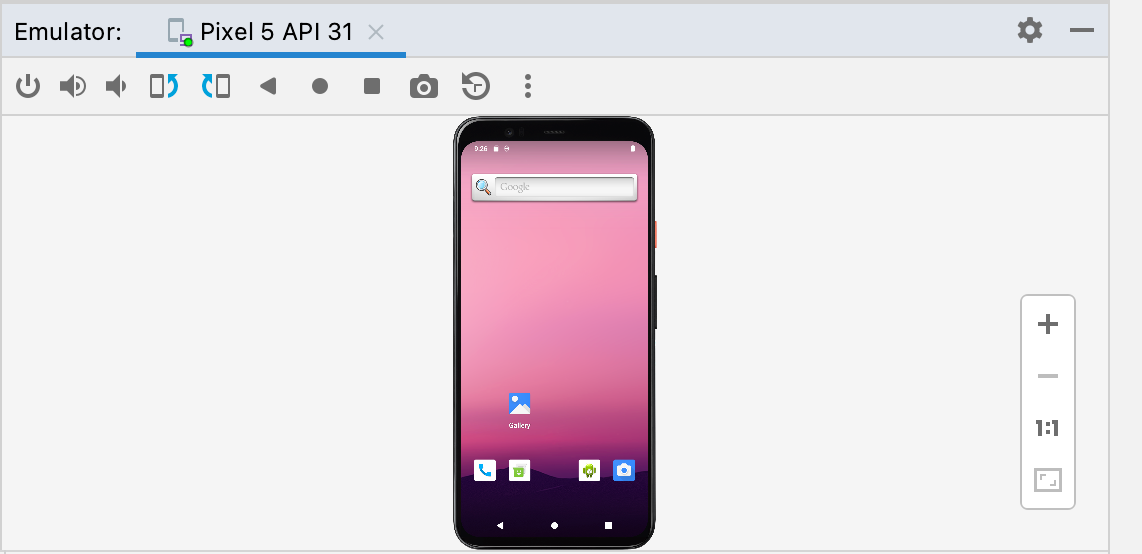
Why developers use Android Studio’s Emulator
An Android Virtual Device (AVD) describes the virtual hardware profile and system image used for a test. You can make profiles for different screen sizes, device types and Android API levels, then launch your app on each one without keeping a physical phone for every configuration. The emulator also provides controls for actions such as rotation, location and simulated network conditions.
Because the Emulator is part of the Android development toolchain, it can be launched from Android Studio, used as a deployment target and paired with debugging tools. This is useful for reproducing a bug against a known API level or checking layouts across a range of virtual device profiles.
How to choose an AVD
- Match the API level: Test the minimum Android version your app supports and the versions most relevant to your users.
- Cover screen differences: Include the form factors your app supports, such as phone, tablet, Wear OS, TV or Automotive where applicable.
- Use appropriate system images: Google Play-enabled images are useful for testing Play services and store-related behaviour; other images suit different development tasks.
- Keep a clean test profile: Separate AVDs help reproduce issues without state left over from another test.
- Check hardware acceleration: The host CPU, graphics driver and virtualization configuration can affect startup and performance.
What an emulator cannot fully replace
A virtual device is not identical to a retail phone. Real camera quality, Bluetooth accessories, biometric hardware, cellular behaviour, battery use and manufacturer-specific changes need testing on physical hardware. Some features can be simulated, but simulation does not prove the same result on every model. Before release, test the app on representative phones and tablets, and use real devices for features that depend on physical sensors or vendor services.
Performance and troubleshooting
The Android Emulator can be demanding, especially when several virtual devices, IDEs and browsers are open at once. Consult the current Android Studio system requirements for your operating system and workload. If the emulator is slow or fails to boot, check available memory and disk space, update Android Studio and SDK components, verify hardware acceleration, and review Google’s troubleshooting guide before changing advanced settings.
Keep emulator images and SDK tools current through Android Studio’s SDK Manager. When an AVD behaves unexpectedly, a cold boot or a clean virtual device can help distinguish corrupted test state from an app bug. Keep a reproducible test case and record the selected device profile and API level.
Alternatives for specialized testing
Genymotion may be useful for particular cloud, device-farm or enterprise workflows, but confirm its current pricing, supported Android images and feature set with the vendor. For normal Android app development, the Google-maintained Emulator remains the most direct integration with Android Studio. BlueStacks and other gaming players are not substitutes for development AVDs.
For the complete comparison of consumer and developer tools, see our Android emulator guide. If your goal is to run apps rather than test your own, see the Android app emulator guide.
Official setup and troubleshooting: Run apps on the Android Emulator, troubleshooting and emulator tool comparison.