
The best retro emulator is the one that runs the console you care about on the hardware you own, with controls and setup you can manage. Some emulators focus on one system and aim for accuracy; others use a frontend that can launch many emulator cores. Neither approach is automatically better. This guide explains where to start, what to expect and how to handle game files responsibly.
Best starting points by system
- PlayStation Portable: PPSSPP is a dedicated PSP emulator with versions for desktop and mobile platforms. It does not require a PSP BIOS according to its documentation.
- Original PlayStation: DuckStation is a focused PS1 emulator with settings for rendering, controllers and compatibility. Read the project’s current setup guide for firmware requirements and supported builds.
- PlayStation 2: PCSX2 is a mature PS2 emulator for supported desktop systems. It requires a BIOS image dumped from a PlayStation 2 you own; the project documents the process and compatibility details.
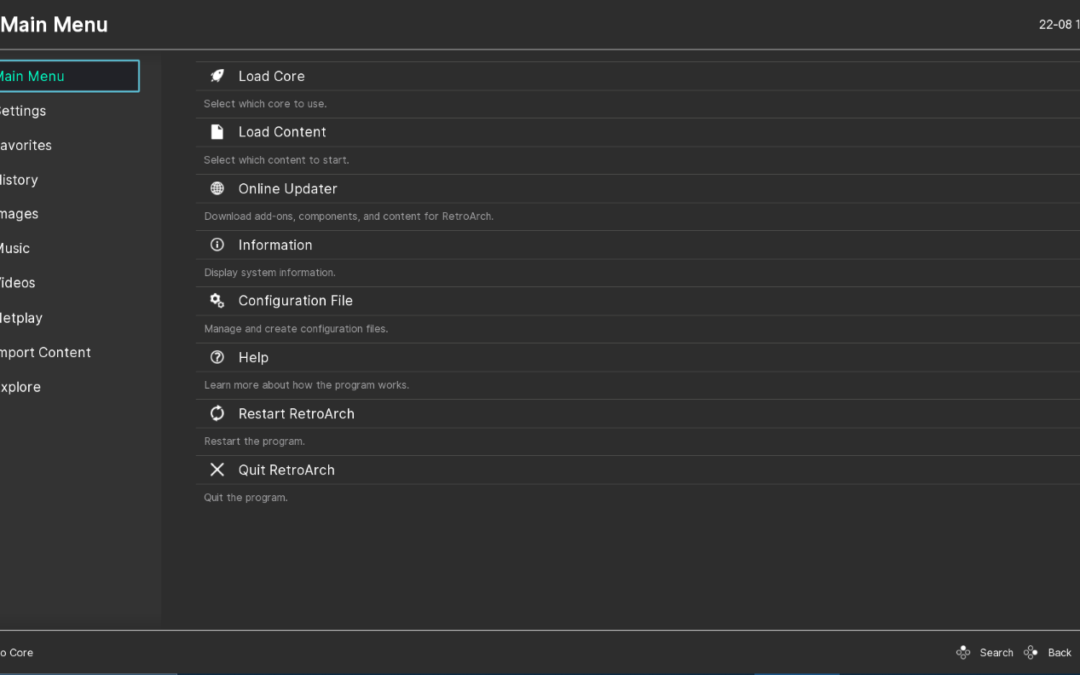
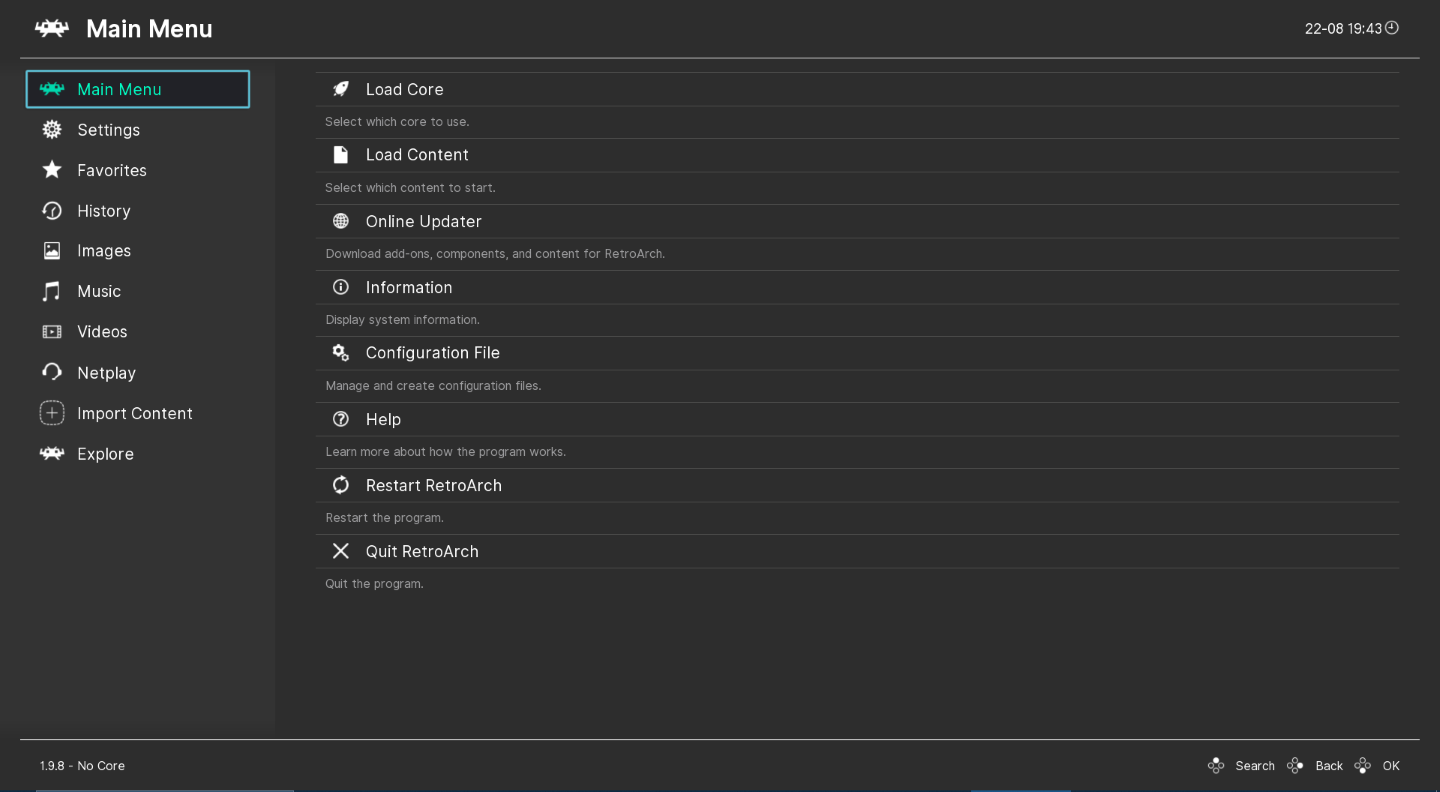
- Many older systems in one interface: RetroArch provides a consistent frontend for compatible cores. You still need to choose, install and configure the appropriate core and supply legally obtained content.
- PlayStation 3: RPCS3 is an active PS3 emulator project, but compatibility is title-specific and setup has more requirements. Consult its official compatibility list and quickstart guide before expecting a particular game to work.
Dedicated emulator or multi-system frontend?
A dedicated emulator is often easier to understand when you want one console. It may expose settings that match that system’s hardware and offer a clear compatibility list. A frontend such as RetroArch can keep games, controller settings and save management in one place across many systems, but it adds a layer of configuration: a core is the emulator component, and different cores may vary in accuracy, features and performance.
For a first setup, pick one console, install one trusted emulator and test one game you own. Add more systems only after you have confirmed that your controller, save path and display settings work. This avoids the common frustration of importing a large library before knowing whether the core and file format are right.
Performance and compatibility
Emulation asks a modern computer or phone to reproduce the behaviour of older hardware, and the work varies greatly by system. A small handheld console may run comfortably on modest hardware, while newer 3D consoles can need a much faster processor and graphics card. Even on strong hardware, a specific game may have rendering glitches, missing audio or incomplete support.
Compatibility lists report community testing and can change as emulator versions improve. Look for the exact title and the project’s current status, then check whether the tested configuration resembles yours. Raising internal resolution or adding enhancements increases the workload and can introduce visual problems; begin with default settings and adjust only when necessary.
Games, BIOS files and copyright
An emulator is software; a game image or firmware file is separate material. Ownership of a physical game does not automatically answer every legal question about making, downloading or sharing a digital copy. Laws and exceptions vary by country. Use only files you are authorised to use, follow the game publisher’s terms and local law, and do not download copyrighted game files from unofficial collections.
Some systems require firmware or BIOS files, while others do not. Obtain any required files using the method described by the emulator project and do not share them. PPSSPP’s FAQ says a PSP BIOS is not required; PCSX2’s guide explains its PS2 BIOS requirement. Never download an executable claiming to be a console BIOS or emulator from an unrelated site.
Safe setup checklist
- Download the emulator from the project’s official website or verified release page.
- Check the operating system and processor requirements before installing.
- Use the project’s own documentation for firmware, game formats, controller mapping and save locations.
- Keep separate backups of save files before changing emulator versions or moving folders.
- Start with default graphics settings; change one setting at a time so you can undo problems.
- Do not disable security tools or run unknown “ROM packs,” installers or BIOS downloaders.
Where to go next
For a system-by-system look at Sony consoles, see our PlayStation emulator guide collection. The dedicated PPSSPP project, DuckStation, PCSX2, RPCS3 and RetroArch sites provide current downloads and documentation.
Bottom line
For PSP, PPSSPP is a straightforward starting point. For PS1 and PS2, choose a dedicated emulator and follow its firmware instructions. For a multi-system library, RetroArch can be convenient once you are comfortable selecting cores. For PS3, check per-game compatibility before investing time in setup. Start small, use trusted sources and let compatibility—not a blanket ‘best’ claim—guide your choice.
For the wider picture, continue to the retro emulator overview. Browse retro game guides for platform-specific reading.
Browse retro emulator guides by system
The archive collects system-specific emulator guides. Compatibility and setup differ by hardware, and projects can change; check the official project documentation before downloading.